
Slab Building Trays with Soft Clay Edges
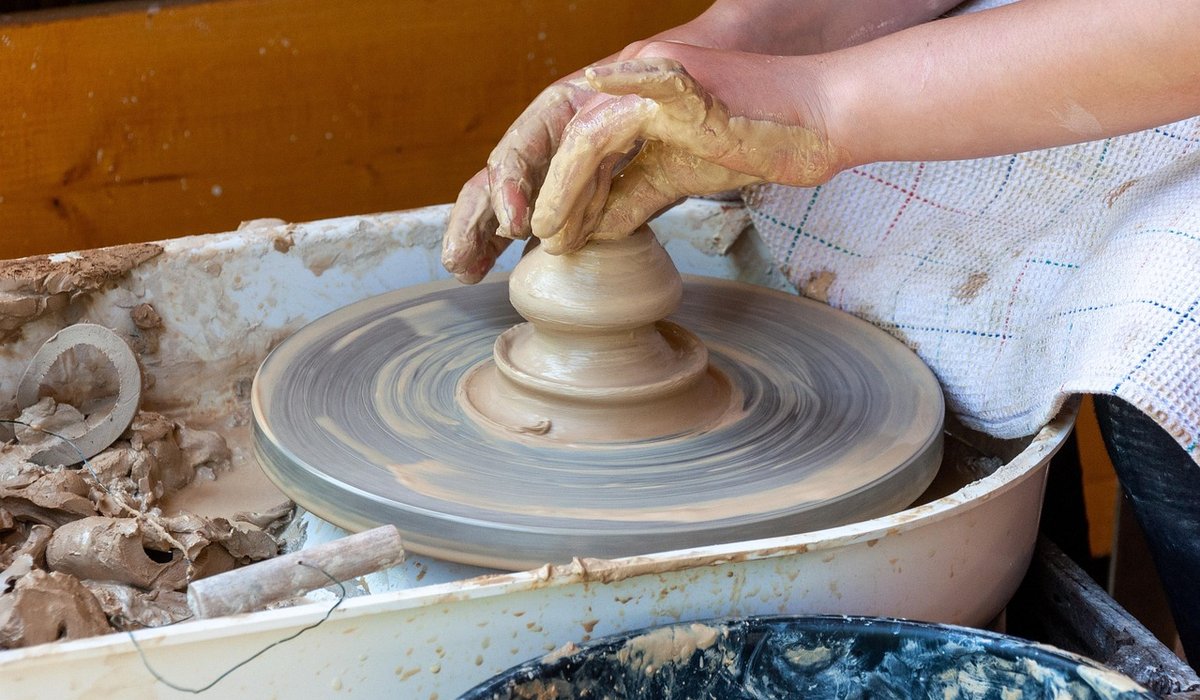
Why Leather-Hard Is the Sweet Spot
A bowl fresh off the wheel is far too soft to turn. Press it and the wall deforms; catch the rim and it slumps into an oval. Leave it too long, though, and it passes through cheese-hard into bone-dry, where a trimming tool skids, chatters and tears the surface instead of peeling it. The window you want sits between those extremes, and most potters simply call it leather-hard.
At this stage the clay has lost enough moisture to hold its shape under its own weight, but it still feels faintly cool against your cheek and slightly waxy under the thumb. Press it gently and it gives a little before resisting. That balance is the whole point: stable enough to spin true on the wheel head, soft enough for a loop tool to lift a clean curl rather than a puff of dust.
Timing depends on your clay body, the wall thickness and the humidity in your studio. A thin-walled bowl thrown on a warm afternoon may be ready in two or three hours; a heavy one in a cold workshop might need overnight. Cover the bowl loosely with a plastic bag or invert a bucket over it, and check every hour rather than guessing. The old test still works: press a thumbnail into the base. If it leaves a clean dent with no shine and no springiness, you are ready to trim.
Setting Up to Trim
Trim with the bowl upside down, sitting on its rim, on a clean, dry wheel head. The challenge is holding it firmly without bruising the rim you spent so long getting even.
- Wads or lugs: press three or four small coils of soft clay around the outside of the bowl to grip the rim, leaving the base clear.
- A chuck: throw or press a shallow mound of soft clay onto the wheel head and seat the bowl into it, then firm the clay up around the rim.
- Centring: turn the wheel slowly and tap the bowl with your knuckles or the wooden handle of a tool until the rim runs true. Small taps only — a heavy hand will distort the profile.
- Braced hands: rest your forearms on the wheel tray or your thighs so the tool moves with your body, not with your wrists.
Take a moment here. Most trimming disasters are not caused by a bad cut but by a bowl that was never properly centred or held in the first place.
Finding the Foot Ring
Before you cut, look at the bowl as a whole. Consider the curve, the weight of the rim, the thickness of the wall. A foot ring that is too wide looks like a plinth; too narrow and the bowl feels unstable in the hand. As a rough guide, aim for a foot between a quarter and a third of the base diameter.
With the wheel turning slowly, mark the outer and inner edges of the foot with a needle tool or a pair of dividers. Then mark the depth you intend to cut — a light line, or simply hold the measurement in your eye. If you are making a bowl that sits in the hand, a shallow concave base with no foot ring at all is perfectly valid and often looks more generous.
Cutting Clean with Loop and Blade
Work in shallow passes. Two or three millimetres at a time, moving from the outside of the foot inwards, is far safer than one ambitious cut. Watch the shaving: a soft, even curl means the clay is right; crumbly dust means it is drying out; a wall that flexes under your fingers means it is still too wet.
Keep the wheel at a moderate, steady speed — fast enough that the tool glides, slow enough that you can follow your marked line. Use the flat of a broad loop tool to establish the base, then a smaller loop or a wooden tool to shape the ring itself.
Leave the foot wall around five to eight millimetres thick for a bowl of average size. Never cut through the base. Tap the floor of the bowl with a knuckle and listen for an even ring; a dull thud tells you the base is still thick, a hollow one means you are close to breaking through. Finally, soften the inner corner where the foot meets the base with a small rib, so no sharp internal angle traps moisture or catches a cloth.
Refining Rim, Surface and Details
With the trimming done, turn your attention to the surfaces that hands will actually touch. Run a damp sponge or a wooden rib around the trimmed foot to compress and smooth the clay, which helps prevent the fine crazing that shows up under a glaze.
The rim deserves the same care. Chamfer any knife-sharp edge with a damp finger, then draw a barely damp sponge around the whole rim to round it very slightly. A rim that is paper-thin will chip in the dishwasher; one that is blunt and heavy looks clumsy. Evenness is what reads as quality.
If throwing rings are visible inside or out, a single light pass with a metal rib will soften them without erasing the evidence of the hand. This is also the moment to press in your maker's mark or sign the foot, while the clay still takes an impression crisply.
Drying, Decorating and the Next Step
A freshly trimmed bowl is at its most vulnerable. Move it onto a bat or board rather than picking it up by the rim, and let it dry slowly: cover it loosely with plastic for a day, then peel the plastic back a little at a time over the next few days. Rushing this stage is what causes S-cracks in thick bases and warped rims.
If you plan to decorate, this is your window. Slip trailing, sgraffito through a layer of coloured slip, burnishing with the back of a spoon, or simply leaving the clay bare — all of it wants leather-hard to just-past-leather-hard clay, not dry.
Once the bowl is bone-dry, it is safe to handle, and it is worth turning it over in your hands one last time before it goes near a kiln. A well-trimmed foot, a rim that meets your thumb without a snag, a base that sits flat on the shelf without rocking: these small things are what separate a bowl that works from one that merely exists.
LEAVE A COMMENT