
Coil Building a Tall Garden Planter
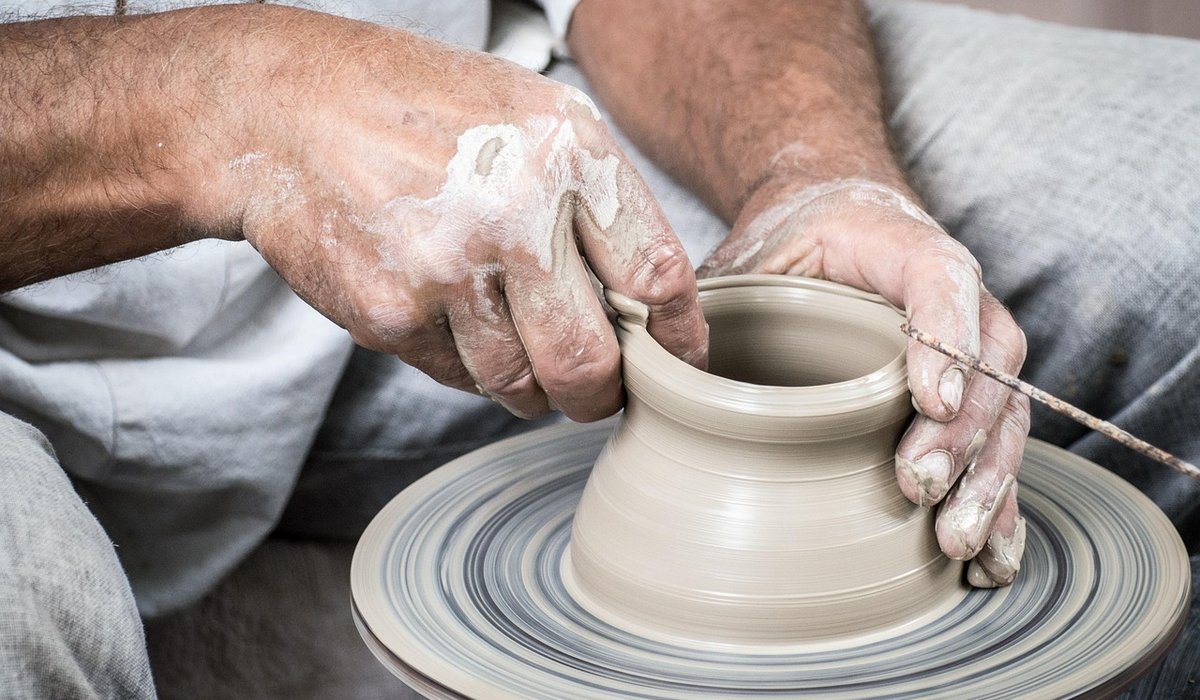
Why Walls Go Uneven
Almost every potter has pulled a cylinder with one side thick enough to hold a stew and the other thin enough to see light through. It is rarely a matter of talent. Uneven walls almost always come down to three things: inconsistent wheel speed, drifting hand position, and too much water on the clay.
Before you blame your hands, look at the clay itself. A ball that has been wedged unevenly, or that still holds a stiff patch from the bag, will pull unevenly no matter how good your technique is. Wedge thoroughly, and if you are throwing a larger amount, weigh out consistent balls so your hands learn one set of movements instead of adapting every time.
- Wheel speed changing mid-pull, usually because your foot creeps on the pedal
- Fingers travelling up in one long sweep rather than short, overlapping passes
- Flooding the wall with water until it bulges under its own weight
- Pulling from the rim downwards instead of building up from the base
- Letting the inside hand lead while the outside hand follows
Set the Wheel Speed Before You Touch the Clay
Choose a speed and commit to it for the entire pull. For a 1kg ball of stoneware, most home studio potters find a steady medium setting works well — roughly 100 to 150 rpm if your wheel has a digital readout. Faster than that and the wall wobbles while your hands skid across it; much slower and the clay drags, forcing you to push harder than you should.
The important word is constant. If you have a foot pedal, rest the ball of your foot on it and brace your heel against the wheel frame so your ankle cannot drift. If your wheel offers a fixed-speed setting, use it for pulling and save the pedal for centring and opening. You will be surprised how much steadier your walls become when your hands are not chasing a moving target.
Brace Yourself Before You Pull
Your hands can only be as steady as the arms attached to them. Tuck your elbows against your thighs or rest them lightly on the wheel frame, keep your forearms roughly parallel to the floor, and lock your wrists. Both hands should travel as a single unit, with the heel of your outside hand anchored against the wheel head or the base of the pot for stability.
Water is the other variable. Keep a sponge and a small bowl to hand and dampen the wall rather than flooding it. You want enough slip for lubrication and no more. A wall that is sloppy wet cannot hold its shape, so it sags exactly where you applied the most pressure — which is how thin spots and thick spots appear within seconds of each other.
Finger Placement, Pass by Pass
Begin at the base. Place the tip of your index or middle finger inside the pot, pressed gently outward at the very bottom of the wall, just above the wheel head. Mirror it with your outside hand, fingers together and flat, pressing inward with equal and opposite force. The clay is squeezed between them, and it rises.
Now make a series of short passes rather than one long climb. Move both hands upward about 2 to 3cm, then start the next pass slightly below where the last one ended, overlapping by roughly a third. Each pass blends into the one beneath it, which is what gives you an even wall. Keep the outside hand in charge — it guides the thickness and acts as a brake — and never let the inside finger push ahead of it.
- Keep both fingertips together as a pair; if one leads, the wall tapers
- Move slowly. A steady 3cm pass beats a fast 10cm sweep every time
- Compress the rim with your thumb and forefinger between passes
- If the wall starts to spiral, stop, let it firm for a minute, then begin again
Where the Rib Comes In
A rib is not just a smoothing tool; used properly, it is a thickness gauge. Hold a rubber or flexible metal rib at about a 30 to 40 degree angle to the wall and run it from base to rim with light, even pressure while the wheel turns slowly. Where the wall is thick, the rib rides out slightly; where it is thin, you will feel it dip.
Use the rib after every pull, not only at the end, and keep the pressure consistent. It will not remove a heavy base for you, but it will tell you honestly what you have made. A quick pass inside as well — with a small kidney-shaped rib held lightly against the interior — helps you feel whether the thickness is consistent all the way round.
Reading the Wall and Fixing Trouble Spots
Stop the wheel and check your work with your fingertips. Pinch the rim between thumb and forefinger and slide them down the outside; you will feel the changes in thickness long before you see them. For a more precise check, use a pin tool or needle to prick through the wall at a few points — the depth of each prick tells you the measurement in millimetres.
If the base is heavy, thin it by pulling one more slow pass from the very bottom upward, keeping your outside hand firm. If the rim is thinner than the rest, compress it and pull a short pass just below the rim to draw clay upward. And if a single spot is stubbornly thick, resist the urge to gouge it. A gentler rib pass and another overlapping pull will even it out far more reliably than force.
Even walls come from repetition, not perfection. Throw the same shape twenty times at the same wheel speed, with the same overlapping passes, and your hands will start to know the thickness before your eyes confirm it. That is the quiet pleasure of the home studio — the clay teaches you patience, one cylinder at a time.
LEAVE A COMMENT