
Pinching a Set of Rustic Stoneware Mugs
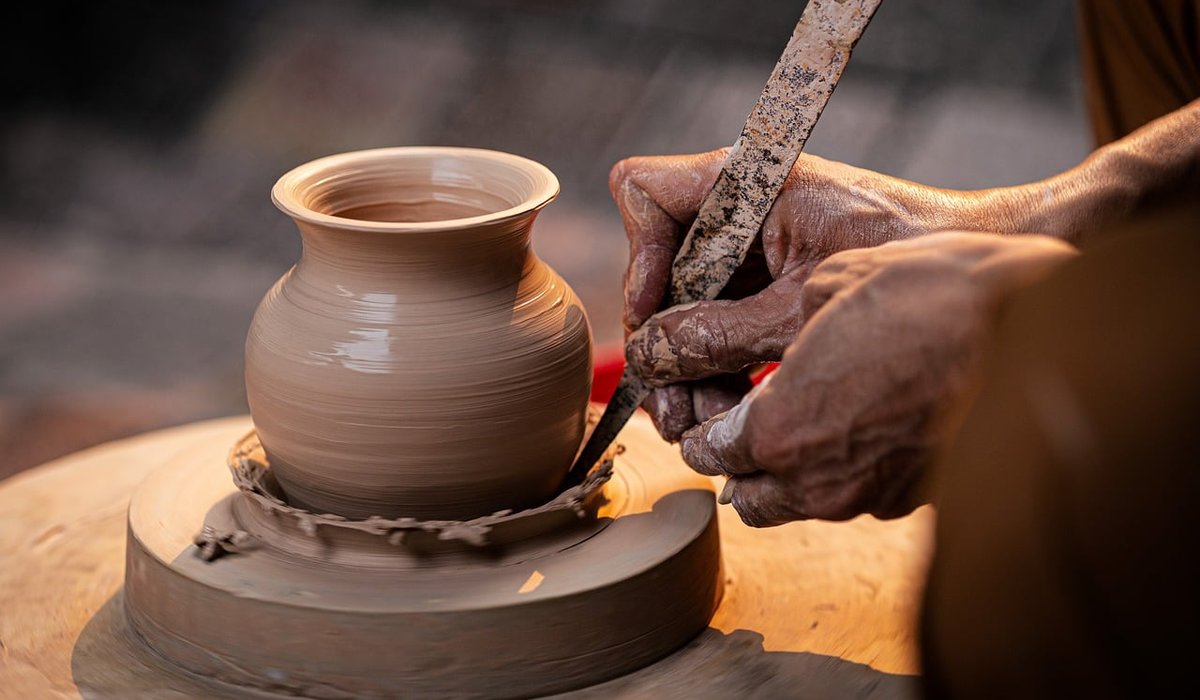
Why Centring Matters More Than You Think
Centring is the first real skill you learn on the wheel, and it is the one that causes the most frustration. A ball of clay that is even slightly off-centre will fight you through every stage that follows. The walls of your cylinder will thicken on one side, thin on the other, and collapse when you try to shape them. But here is the good news: centring is not a mysterious talent. It is a physical skill built on a stable stance, consistent hand positions, and a willingness to repeat the same motion until your muscles remember it.
In a home studio, it helps to break centring down into clear, repeatable steps. This article covers the stance and hand positions that will let you centre clay reliably, so you can move on to opening out your first cylinder with confidence.
Setting Up Your Wheel and Your Body
Before your hands touch the clay, check your setup. Sit at the wheel so your stool is high enough that your elbows can rest comfortably against your inner thighs or hips. If your stool is too low, you will hunch and lose power; too high, and your arms will tire quickly. Your wheel head should sit at roughly waist height when you are seated. Take five minutes to get this right.
Wedged clay is essential. Air pockets or uneven moisture will sabotage your centring no matter how good your technique is. Form the clay into a smooth ball, roughly the size of a large orange for your first attempts. Keep a bowl of water nearby, but do not drown the clay. You want a light slip on your hands, not a puddle on the wheel head.
Your stance is the foundation. Sit close to the wheel, spine upright but relaxed. Plant both feet flat on the floor or on the wheel's footrest. Your elbows should be braced against your thighs or hips throughout the centring process. This transfers power from your body into the clay, rather than relying on wrist and forearm strength alone.
The Coning Motion: Hands and Pressure
Start the wheel at a medium-fast speed. Press the clay firmly onto the centre of the wheel head using the heel of your right hand (reverse if you are left-handed). You should feel it stick. Now wet your hands lightly and begin coning.
Place your left hand on the left side of the clay, fingers pointing down and thumb up, as if you are cradling it. Place your right hand over the top of the clay, with the heel of your hand pressing down and slightly inward. Your elbows are locked against your thighs. Push the clay upward into a cone by squeezing inward with your left hand while your right hand guides the top. Keep the pressure even. Then press the cone back down into a dome using the heels of both hands, with your right hand on top and your left hand on the side.
Repeat this up-and-down motion three or four times. The goal is not to make a perfect cone, but to align the clay particles and bring the mass into true centre. Use your body weight, not just your arms. If your shoulders start to ache, you are working too hard.
Finding the True Centre: Reading the Wobble
After coning down, the clay should be a smooth, low dome. Now comes the test. With the wheel still spinning, place your left hand on the side of the clay and your right hand on top, both with light but steady pressure. Watch the top of the dome. If it wobbles from side to side, you are not centred.
To correct it, apply gentle pressure with the heel of your right hand on the side that is bulging outward, while your left hand supports the opposite side. Do this in small increments, checking after each pass. You will know the clay is centred when the dome stops wobbling and your hands feel a steady, even resistance. Some potters describe a faint hum or vibration that disappears when the clay is true.
Finish by pressing your thumb gently into the centre to create a small dimple. If the dimple stays round and does not drift, you are ready to open out. If it drifts, stop and re-centre before proceeding.
Common Centring Problems and How to Fix Them
- Clay feels slimy and uncontrollable: You are using too much water. Wipe your hands and the wheel head, then continue with drier hands. A little slip is useful; a flood is not.
- Clay is hard and unyielding: It is too dry. Add a splash of water and wedge it again, or wrap it in a damp cloth for ten minutes before returning to the wheel.
- The clay keeps sliding off-centre: Your elbows are not braced. Tuck them firmly against your thighs or hips. Also check that your wheel speed is not too slow; centring needs momentum.
- Your hands ache after a few minutes: You are gripping too hard. Let your body weight do the work. Relax your shoulders and breathe.
- The top wobbles no matter what you do: The clay ball was not wedged evenly. Cut it in half, check for air pockets, and re-wedge.
A Simple Practice Routine for Home Studios
Centring is a muscle memory skill. The best way to improve is short, frequent practice. Set aside fifteen minutes a day, or three sessions of twenty minutes a week. Prepare five balls of clay, each about 500g. Centre each one, then stop. Do not open them out. Remove the clay, wedge it again, and repeat.
Focus on one thing per session: today, only your stance. Tomorrow, only your hand positions. The day after, only the coning motion. This deliberate practice is far more effective than struggling through a full pot with off-centre clay. Keep your clay covered between sessions so it stays workable. After a week or two, you will notice that centring takes less time and less effort. That is the moment when the wheel stops feeling like a wrestling match and starts feeling like a conversation.
LEAVE A COMMENT