
Teaching Children Handbuilding with Air-Dry Clay
Start with the light, not the camera
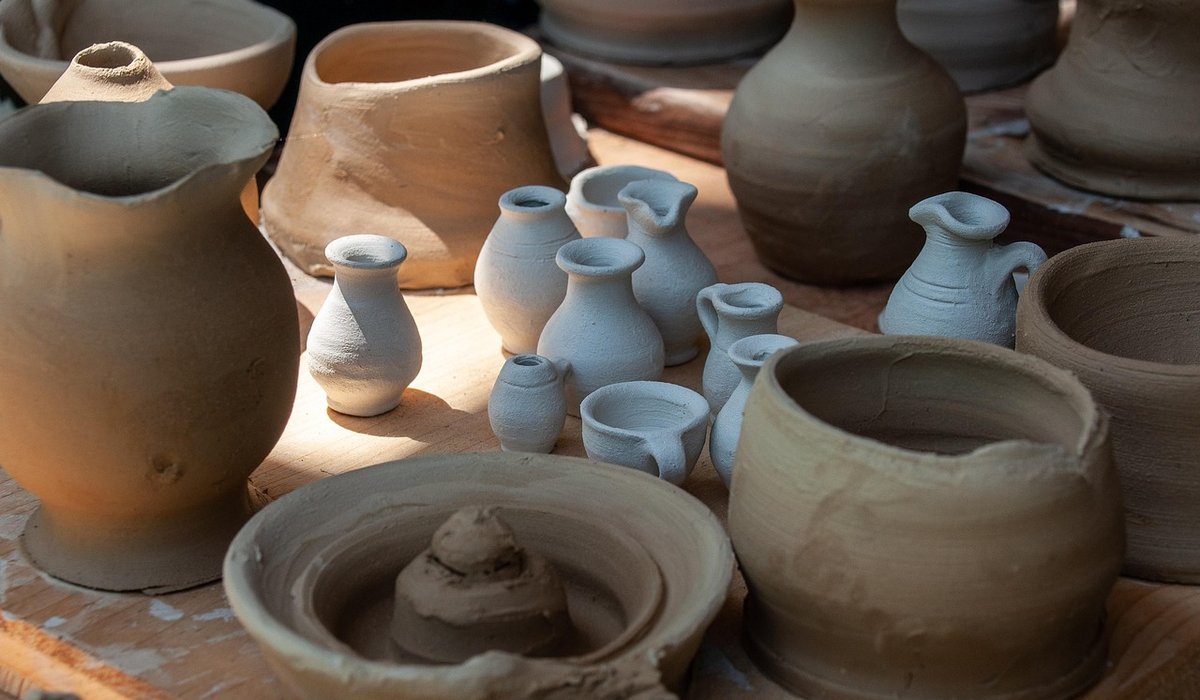
Almost every ceramic photograph that disappoints its maker was taken under the wrong light. Direct sun is the enemy: it burns out pale glazes, buries dark ones in shadow, and throws hard-edged shadows that make a round bowl look lopsided. What you want is soft, even, diffuse daylight, the sort you get on a bright overcast day or beside a north-facing window. That light wraps around a pot rather than striking it, so a satin glaze reads as satin and a matte slip reads as matte.
In a home studio, a window is usually all you need. Set your workbench at a right angle to the window rather than facing it, so light falls across the piece from one side. If the day turns sunny, tape a sheet of tracing paper or a cheap shower curtain over the glass to diffuse it. That single change will improve your shop images more than any lens you could buy.
If you must shoot after dark, one large diffused LED panel placed at 45 degrees to the piece, with a white foam board opposite to bounce light back in, comes close to daylight. Keep the white balance fixed at around 5500K, and never mix warm bulbs with window light, or your grey stoneware will turn a convincing shade of orange.
Build a neutral, repeatable background
Pure white sounds safe and almost never is. It blows out cream and oatmeal glazes, flattens white ones completely, and casts a cold grey tint over celadon. A mid-grey, a warm off-white, or a soft oatmeal linen gives every glaze something to sit against without competing.
- Paper or card: a roll of mid-grey seamless paper curved from wall to table removes the horizon line and costs very little.
- Fabric: linen and cotton work beautifully, but iron them first. Creases look careless at thumbnail size.
- Wood and stone: best saved for lifestyle shots. A busy grain pulls attention away from the pot itself.
Whatever you choose, use it for the whole shop. A grid of images in the same grey, lit the same way, reads as calm and professional before a buyer has read a single word.
Choose a set of angles and keep to them
Distant buyers cannot pick a pot up, so they judge shape, rim, foot and proportion entirely from your sequence. Decide on five views and use them for every piece you list:
- A three-quarter view, camera slightly above the piece, showing the curve and the rim.
- A straight-on front view at the height of the pot's middle.
- A top-down looking into the bowl or mug.
- A close detail of the rim, handle or glaze surface.
- The base, showing your potter's mark and the foot ring.
Camera height matters more than most people expect. For tableware, keep the lens roughly 25 to 30 centimetres above the table for the three-quarter shot; too high and a mug looks squat, too low and you lose the opening entirely. Mark the position with tape on the floor or table edge so you can find it again next week.
Tell the truth about glaze colour and texture
Cameras love to increase saturation, and glazes are usually the victims. A subtle ash glaze becomes emerald; a soft pink goes neon. The fix is straightforward: include a grey card in the first frame of every session, use it to set a custom white balance, then remove it and shoot. If your camera or phone allows it, shoot in RAW so you have room to correct later.
Texture needs a different trick. Flat, head-on light hides the very thing that makes your work tactile, so for one or two frames angle the light low across the surface, raking it so it catches every dimple, drip and crawl. A small torch held at a shallow angle works well on a dull day.
Glossy glazes are the other challenge, because they reflect whatever is in front of them. A large diffused light source softens the worst of it. You can also tilt the piece a few degrees, or stand just outside the reflection and use a longer lens if you have one. Resist the temptation to paint out a reflection or retouch a drip in editing; buyers who order online and then meet the piece in person should recognise it instantly.
Give distant buyers a sense of scale
A mug photographed alone could be four centimetres tall or fourteen. Scale is the single most common gap in home-made ceramic listings, and it costs sales through returns.
- Include one image holding the piece, or with a hand resting beside it.
- For small items, place a familiar object nearby, such as a two-pound coin or a teaspoon.
- For sets and grouped pieces, show them all together once.
- Always state height, width and capacity in centimetres and millilitres in the listing text.
Keep the reference object the same across your shop, and keep it subtle. A hand is warmer than a ruler, though a small ruler in one base shot is genuinely useful for makers selling to other makers.
Edit lightly and shoot in batches
Good editing is invisible. Set white balance from your grey card, adjust exposure so the background stays a consistent mid-tone, crop squarely, and stop there. Over-sharpening leaves halos along the rim; heavy saturation makes your glazes a promise you cannot keep.
Photograph several finished pieces in one session rather than one at a time. Your light, background, camera height and settings stay identical, which makes the whole shop feel coherent and saves you an enormous amount of time. Export at around 1600 pixels on the long edge, name the files clearly with the piece name, and back them up. Once the set-up is dialled in, a dozen pots an hour is entirely realistic on a kitchen table with a north-facing window.
LEAVE A COMMENT